How to re-lamp G.E. lighted Bells.
General Electric lighted bells were made with a C-7 transparent finish bulb inside a plastic glitter coated bell. With the G.E. bells, the bulb was cemented into the bell, so replacing the bulb is a challenge. After some experimenting, I have perfected a procedure for re lamping these bells so they will glow again.
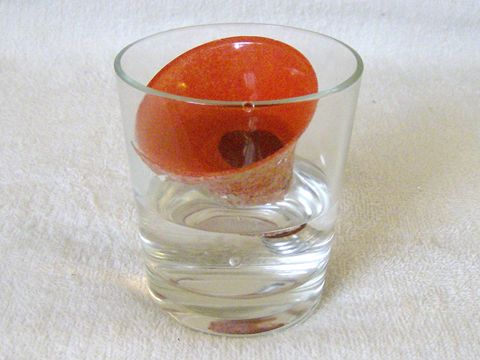
The first step in replacing the bulb is to soak the bell in hot water for about 10 minutes. Microwave a cupful of water for about 1 minute then put 1 inch of water in a glass large enough to hold the bell, then fill the bell with water. This softens the adhesive and the color coating of the bulb.
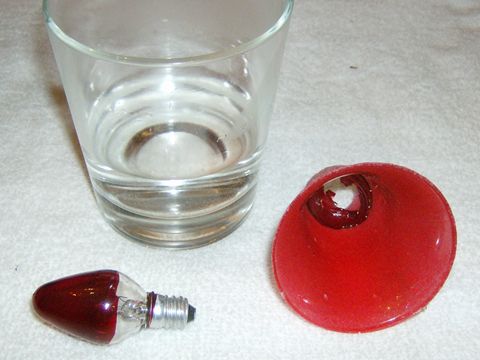
Next place the bell with the mouth end down on a flat surface and press on the bulb
base.
The bulb should come out, leaving the adhesive attached to the bell.
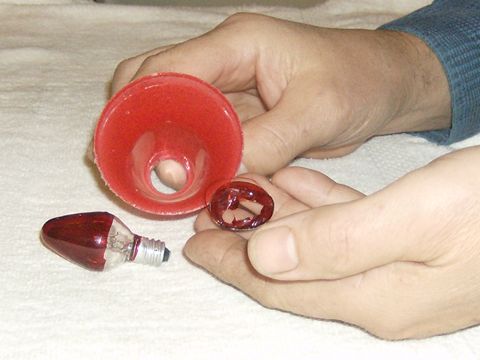
Put the bell back into the hot water another minute to soften the adhesive, then you should be able to pry the old adhesive away from the bell with your fingernail, or a dull knife if you prefer.
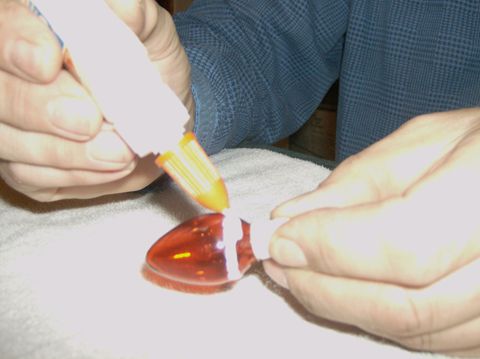
Now you can install the new bulb. Get a transparent finish (Cool Bright) C-7 bulb or, as an alternative you could use a twinkle bulb. Wrap the base with masking tape to protect it from glue overruns. Apply adhesive to the bulb. I used elmers glue-all because it's water based, so it can be de bonded by soaking in water which makes replacing the bulb easy when it burns out again. I've been told that clear silicone sealant can also be used to bond the bulb.
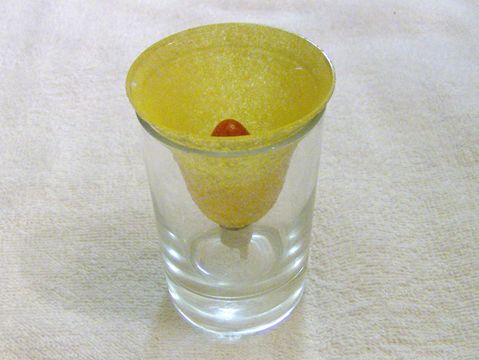
Now set the bell inside a glass large enough to hold it so the glue will set. Hey how did that bell go from red to yellow? Check the glue seam occasionally and wipe off any excess that seeps out. Elmers glue needs at least 24 hours for full cure. Remove the masking tape, and your lighted bell will be like new again!